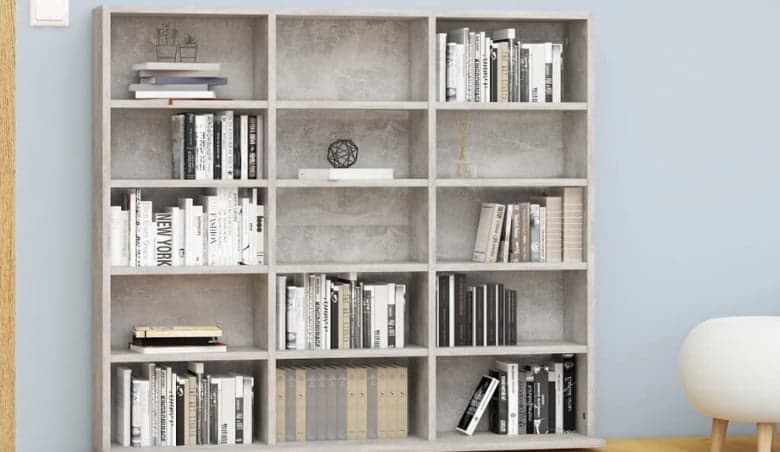
If you're like many of us with an extensive collection of films, TV series, or home videos on DVD, you've likely faced the dilemma of storing them neatly and attractively. The solution? Building your own customised DVD storage unit.
Don't be daunted if you're not an experienced carpenter. With careful planning, some essential tools, and a weekend of your time, you can craft a DVD storage unit that's both functional and aesthetically pleasing. Here's a step-by-step guide to help you embark on this rewarding project.
1. Planning and Designing Your Storage Unit
Understanding Your Collection: Before you dive into construction, take a moment to evaluate your DVD collection. How many DVDs do you have? Do you plan to expand your collection in the future? Understanding your needs will guide your design.
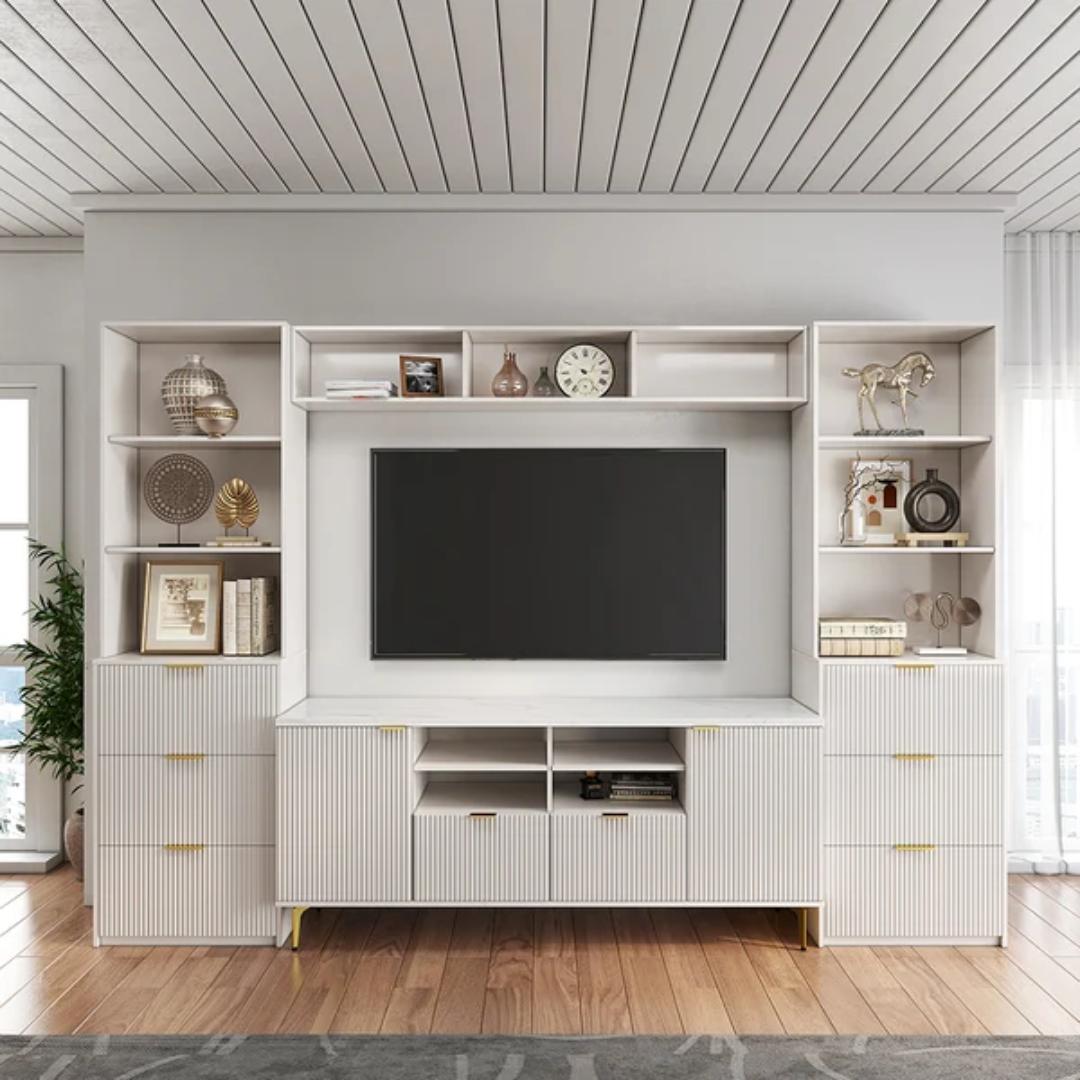
Choosing the Style: Your DVD storage unit can be a statement piece or blend seamlessly with your existing decor. Think about your preferences. Would you like a sleek, modern look or something more rustic?
Sketching the Design: A simple sketch will help you visualise the finished product and guide your construction. Consider factors like the number of shelves, the height and depth of each shelf, and any additional features like doors or drawers.
Selecting Materials: Different materials offer various aesthetics and levels of durability. Plywood, MDF, or solid wood like pine or oak are popular choices. Your budget, the weight of the DVDs, and your design will influence this decision.
2. Gathering Tools and Materials
Tools Needed: Gather essential tools such as a saw, drill, screwdriver, level, tape measure, pencil, sandpaper, and paintbrushes.
Materials Needed: Based on your design, purchase the necessary wood, screws, nails, wood glue, paint, or varnish.
3. Cutting and Assembling
Cutting the Wood: Using your saw, cut the wood to the dimensions outlined in your sketch. Be sure to wear safety goggles and follow proper safety procedures.
Assembling the Frame: Start by constructing the outer frame. Apply wood glue where the pieces meet, then secure with screws. Use a level to ensure everything is straight.
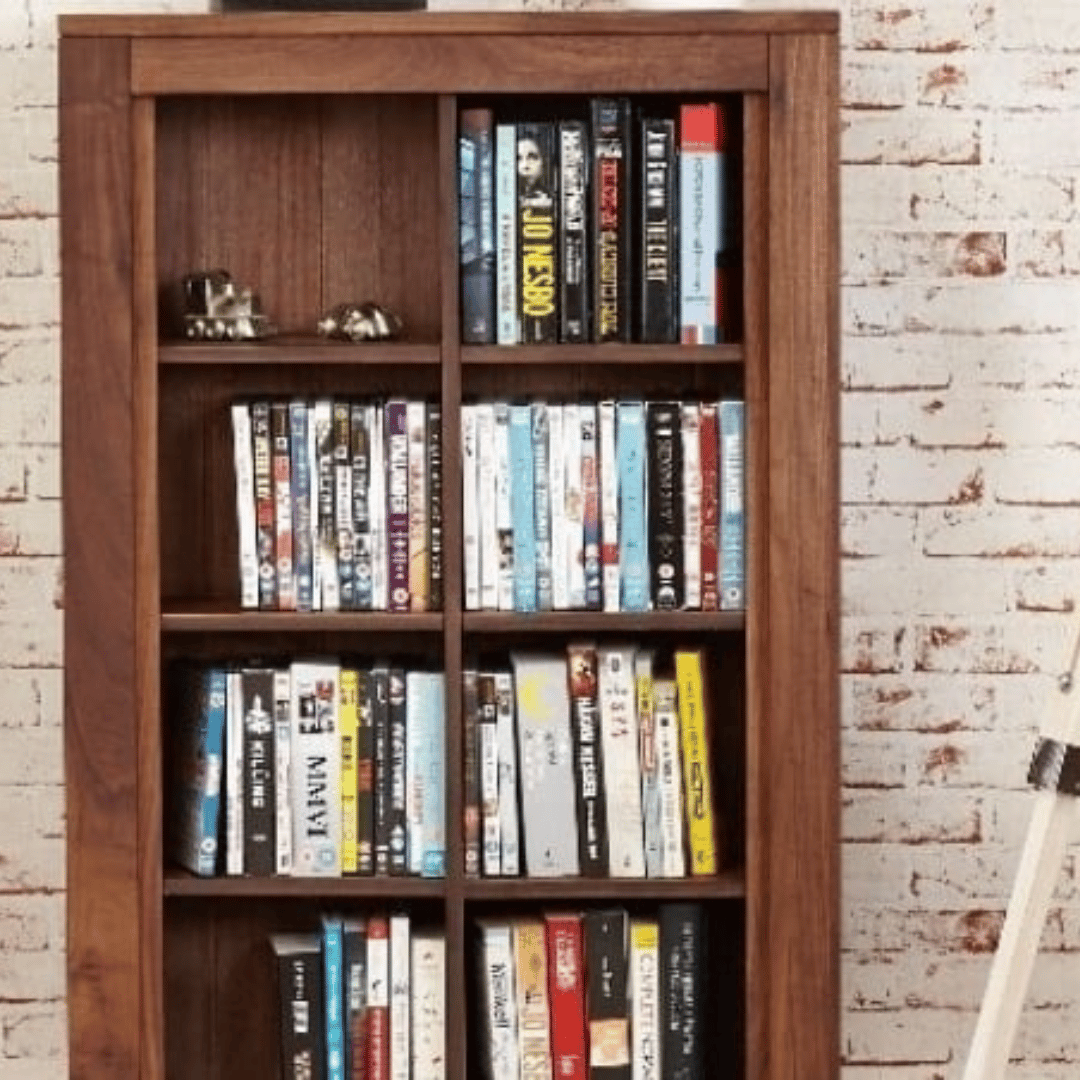
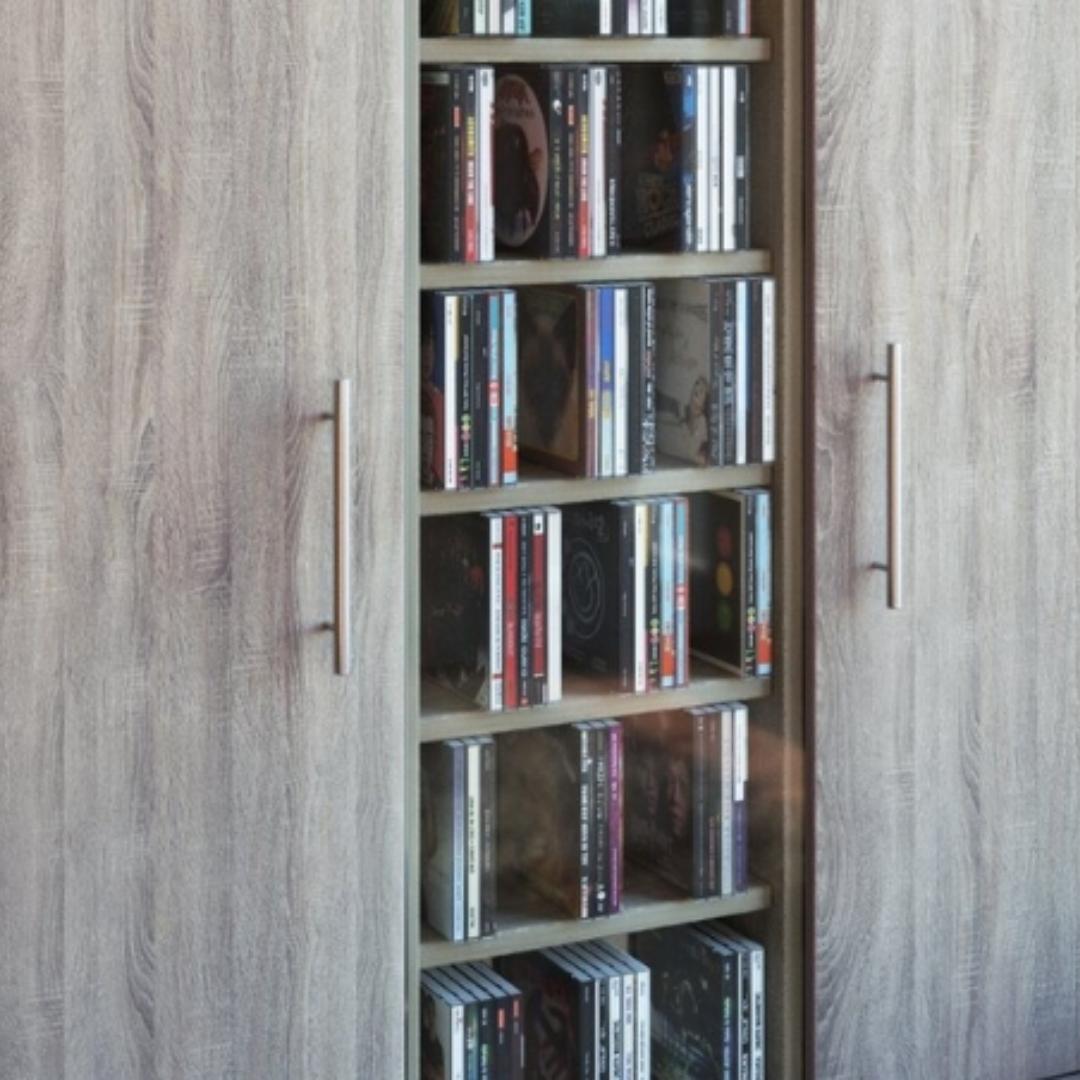
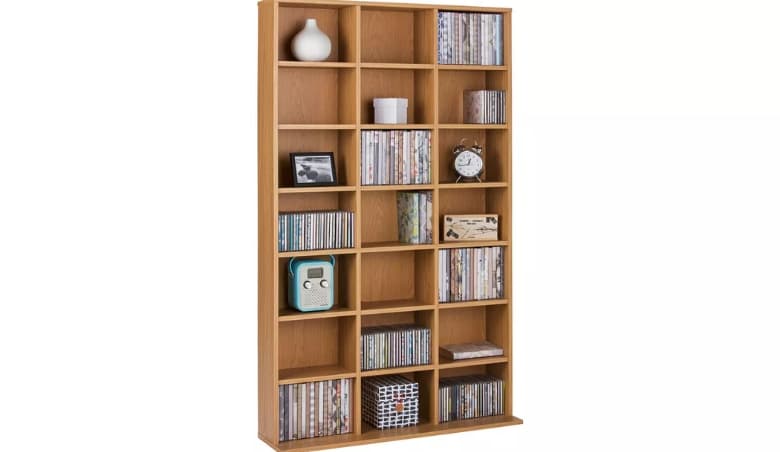
Adding Shelves: Measure and mark the locations for your shelves, then secure them with screws. Customise the heights to fit various box sets or oversized DVDs.
Optional Features: Consider adding doors, drawers, or even lighting. These additional features can enhance the appearance and functionality of your storage unit.
4. Finishing Touches
Sanding: Sand all surfaces to smooth out any rough edges. This will create a professional finish and prepare the surface for painting or varnishing.
Painting or Varnishing: Choose a paint or varnish that complements your room's decor. Apply according to the manufacturer's instructions and allow adequate drying time.
Adding Hardware: If you've included doors or drawers, add handles or knobs to match your style.
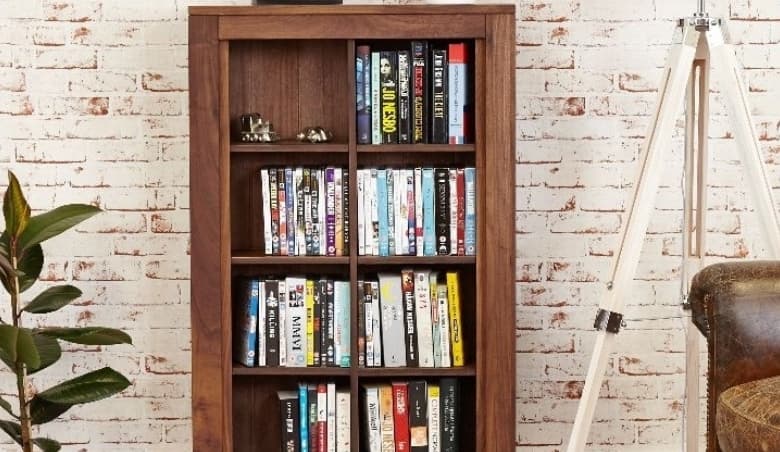
5. Organising Your DVDs
Alphabetising or Categorising: Think about how you'd like to organise your DVDs. Alphabetically, by genre, or by director are popular options.
Displaying: Arrange your DVDs on the shelves, and take a moment to admire your handiwork. Your custom-made DVD storage unit is now a functional and beautiful addition to your home.
Whether you're a film buff with an extensive collection or simply looking for a way to keep your family's favourite movies in one place, crafting your own DVD storage unit is a rewarding project that adds a touch of personalisation to your living space. Enjoy the process, and take inspiration from DVD & CD storage ideas on uFurnish.com.