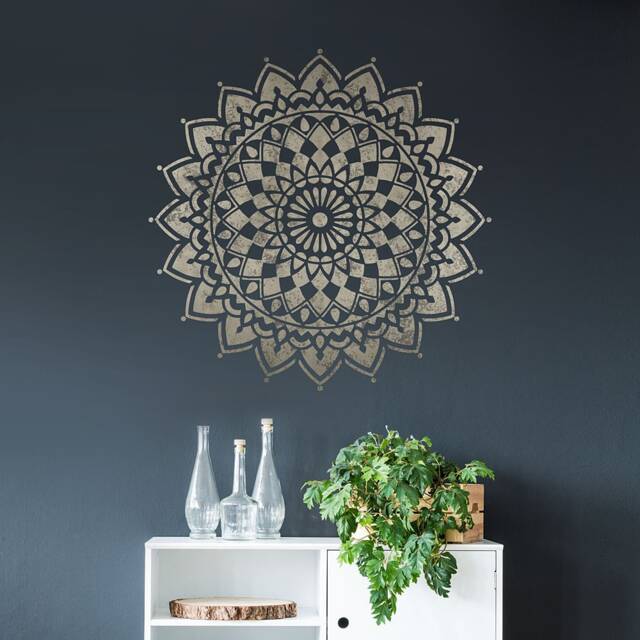
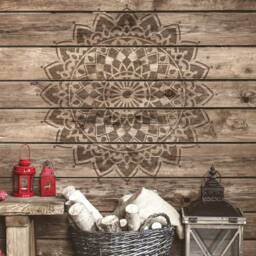
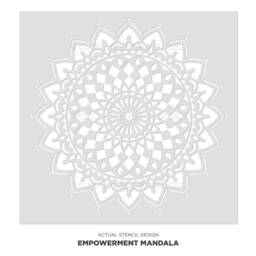
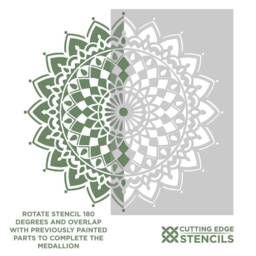
Mandala stencils are very popular in today's decorating. Mandalas fit many decorating styles, from modern & boho to farmhouse! With our Empowerment mandala stencil, you can quickly add beauty & pattern to any plain wall or floor. May this beautiful design bring you true empowerment! :) Our large mandala stencils can be painted in one or multiple colors to match your decor. Mandala stencils are quite easy & fast to use despite there intricacy. Mandalas are a perfect choice for a first time stenciler. Our mandalas are original hand drawn designs created by stencil designer Janna Makaeva, exclusive to Cutting Edge Stencils. For the mandalas that are 18 to 30, you will be receiving a full circle stencil. For the 36 & 44 mandalas, you will receive half of the design. To complete the circle, tape & stencil the 1st half of the mandala, then pick up the stencil, rotate it 180 degrees & line up the registration marks (see photo above), tape it & stencil it again. For the 60 mandala, you will receive a quarter of the design. To complete the design using a quarter stencil, tape & stencil the 1st quarter. After completing one quarter, rotate the mandala over to stencil the half using the registration marks. Rotate & stencil the mandala quarter 2 more times until you've completed the whole circular design. Mandala stencils are so easy to use, virtually anyone can do it. Simply tape it to the wall or floor using BLUE painter's tape, then load your foam roller with the paint of your choice (latex or acrylic). Don't use too much paint! Get rid of excess paint by rolling the foam roller over a folded paper towel. Then, just roll it over the stencil applying light to medium pressure for an quick fabulous result! Don't press on the roller too hard otherwise you might get some paint seepage under the stencil. Mandala stencil designs are easy to stencil with a dense foam roller. However, for multiple colors, please use various stencil brushes. For expert stenciling tips, please watch our How-to stencil videos! You'll find them extremely helpful for your stenciling project. Even beginners get great results! Although most of our stencils do not require the use of spray adhesive, if your walls have a texture to them, it might be a good idea to use spray adhesive to help minimize paint seepage (Elmer's spray adhesive seems to be the best). Make sure you shake the can well & lightly mist (not drench) the stencil, & let it dry for a moment before positioning it on the wall. This step will prevent the adhesive residue transferring to the wall. You'll need to re-mist the stencil after a few repeats. Note: you will still need to hold the stencil in place with a few pieces of blue painters tape! Adhesive by itself is not enough to hold the stencil on the wall. Stencil Cleaning tip: Spray the stencil with Simple Green to help to remove adhesive residue & let it sit for a while before cleaning with soap & water. Please note that it is virtually impossible to get rid of all adhesive residue. That's why we personally prefer not to use it & just stick with painter's tape! Stenciling on rough or textured walls may contribute to increased paint bleed. For more information on stenciling on textured walls, see our F.A.Q. section. About seepage & imperfections: Even with a proper loaded roller & correct technique you might get some minor paint seepage here & there. in most cases it's not noticeable, especially from a couple of feet away & it can be easily touched up with a small brush. Don't forget that you're creating a hand-painted wall finish. A few imperfections & some paint seepage here & there are natural & inevitable for this type of work. To avoid seepage, use spray adhesive & less paint on your roller & brush. Did you know you can stencil your own fabric & use it for curtains, hanging tapestries, tablecloths, pillows, etc.? When stenciling on fabric, please use stencil adhesive to ensure good results. First, tape your ironed fabric to the surface so it doesn't move around while you stencil. You'll get better results with stencil brushes, but sometimes roller can work too, depending on your fabric. Add some textile medium ( sold in craft stores) to your regular acrylic paint. You can also get specially formulated fabric stencil paint for your textile stenciling project. Let the stenciled image dry completely, 24 hours is best, then heat-set it by ironing the fabric for about 20-30 seconds on a LOW setting through the piece of cloth.