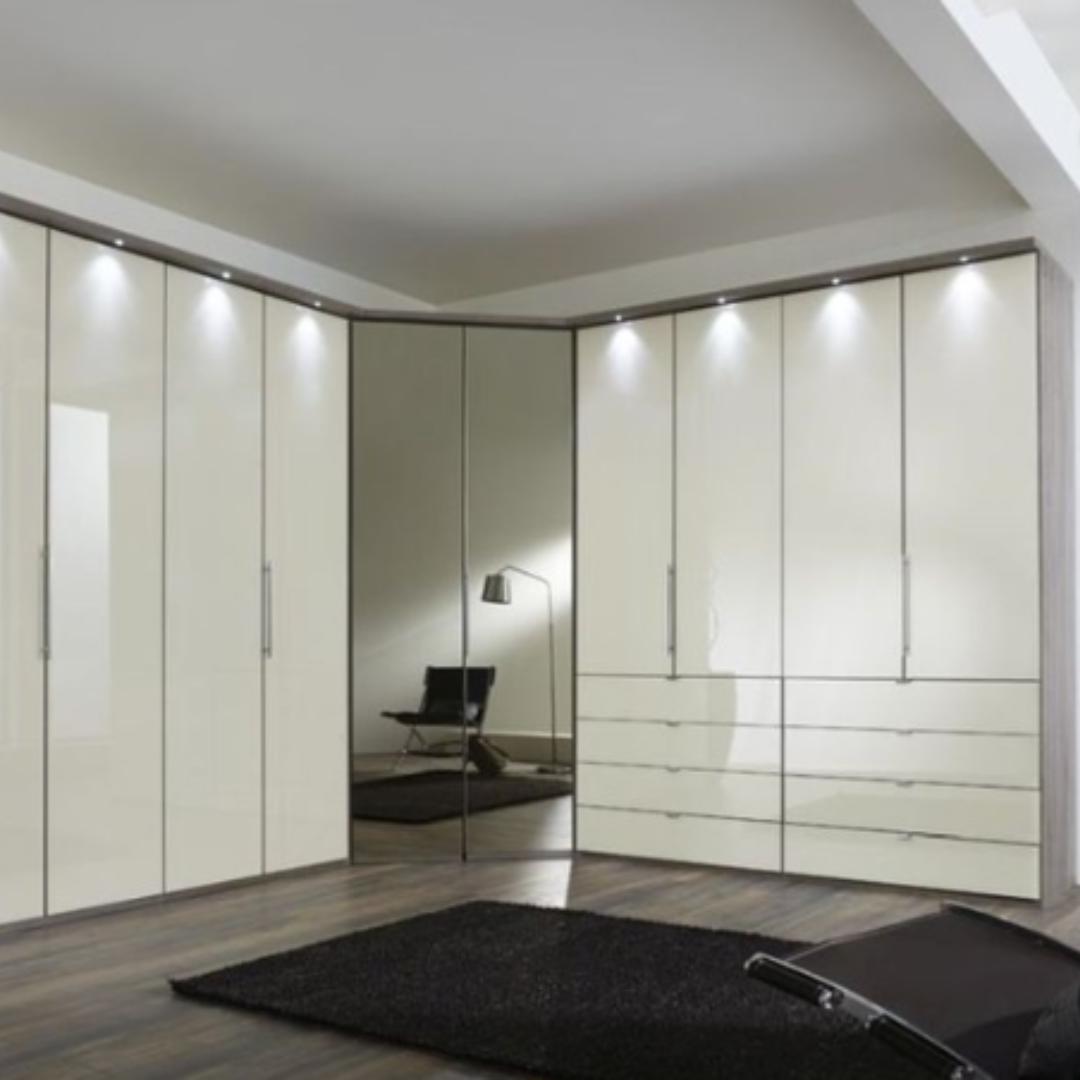
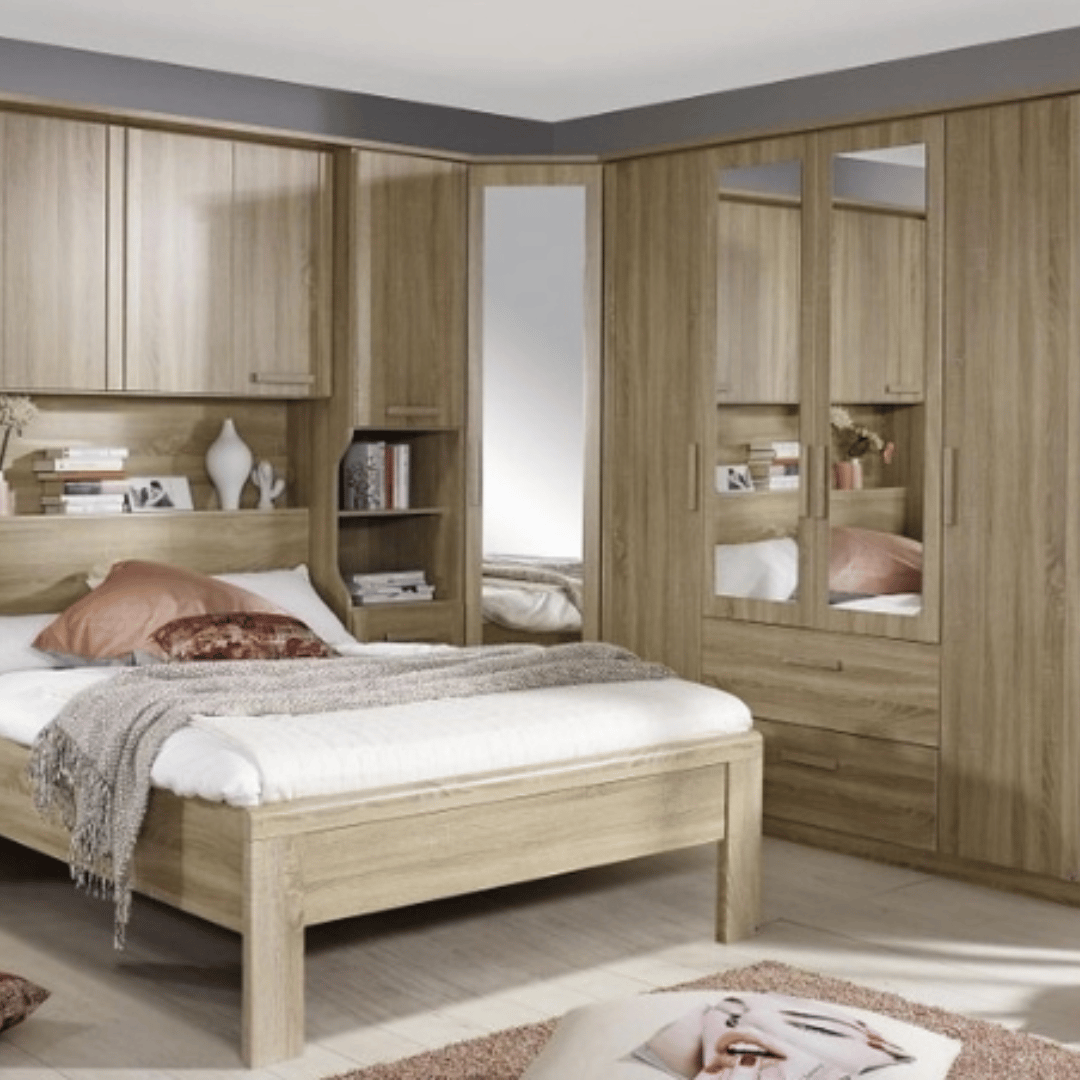
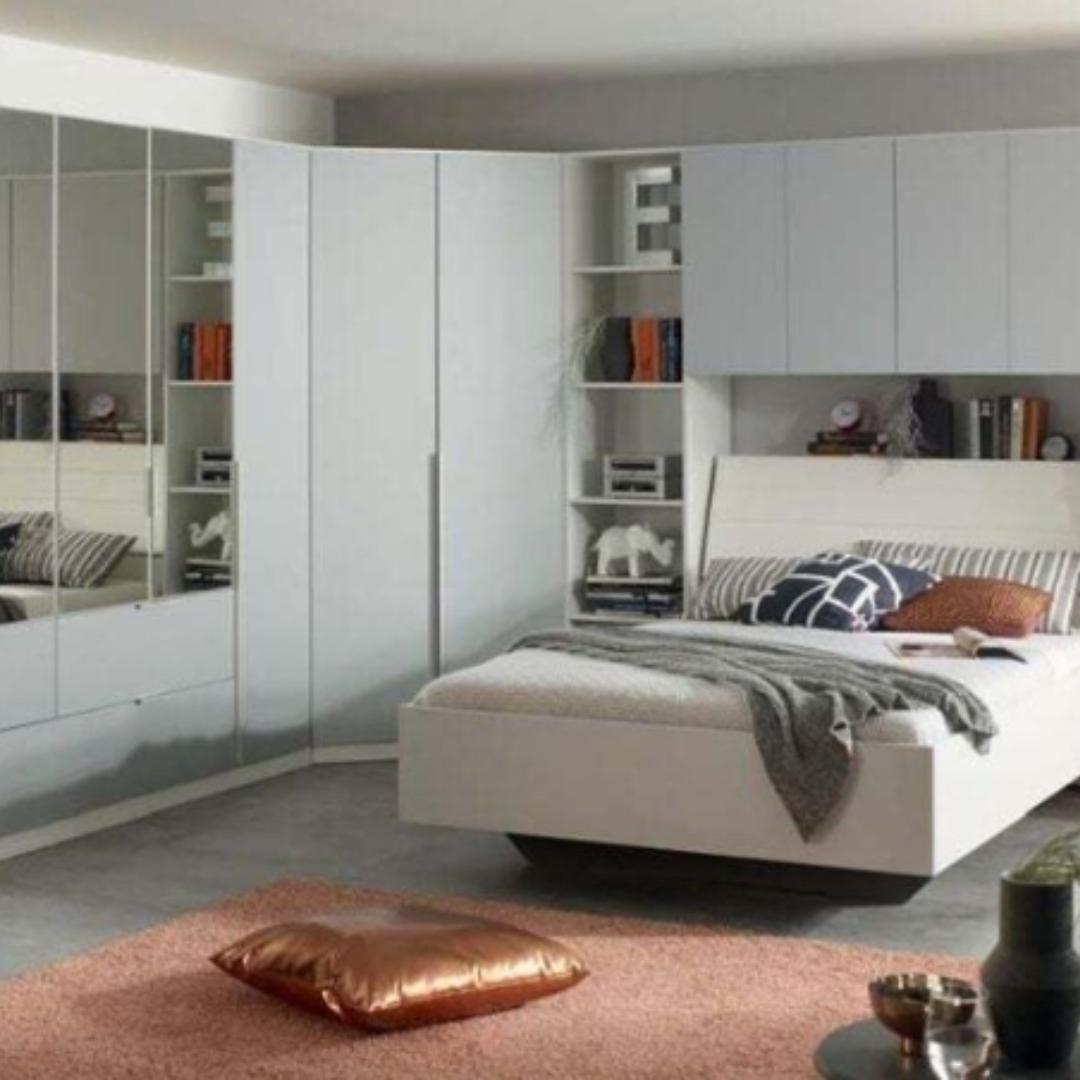
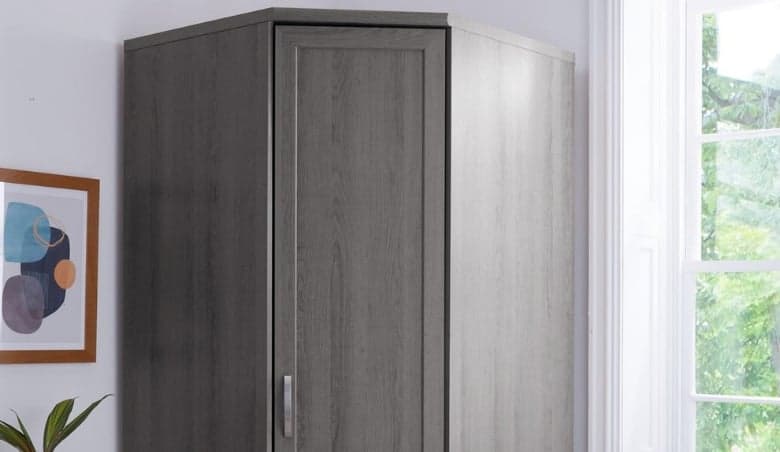
Corner spaces often pose a challenge due to their unique geometry, yet they hold the potential to house a stylish and functional wardrobe. A custom-built corner wardrobe is not only a space-saving solution but also a chance to infuse personal style into a room.
1. Planning Your Corner Wardrobe
Measurements:
Begin by measuring the dimensions of the available space. Use a tape measure to get accurate measurements of the height, width, and depth of the corner.
Consider the door mechanism - will it swing open or slide? Ensure there's enough space for the doors to operate without obstruction.
Design:
Sketch a simple blueprint of your wardrobe, indicating where shelves, hanging spaces, and drawers will go.
Consider a mix of shelving, hanging space, and drawers to cater to different storage needs.
Budgeting:
Estimate the costs of materials, hardware, and any tools you may need to purchase.
Look for cost-effective yet durable materials to stay within budget.
2. Material Selection
Wood types:
Plywood: A cost-effective and sturdy choice with good screw-holding ability. Its layered construction provides stability.
MDF: Generally cheaper than plywood but smooth and easy to paint. It's a good choice if budget is a concern, but it’s less durable.
Hardwood: A more expensive choice but offers longevity, durability, and a natural wood aesthetic. Common hardwoods include oak, maple, and cherry.
Hardware:
Hinges: Opt for durable hinges that can withstand the weight of the doors. Soft-close hinges are a great feature to prevent door slamming.
Handles and Knobs: Select handles and knobs that complement your design and are comfortable.
Drawer Slides: Full-extension drawer slides provide easy access to the back of drawers.
Finish:
Paint: Provides a clean, modern finish. Primer and multiple coats are essential for durability.
Stain: Enhances the natural wood grain, providing a rustic or traditional look.
Varnish or Polyurethane: Apply a coat to protect the wood and the finish, ensuring longevity.
3. Assembly
Tools Required:
Essential tools include a circular saw or hand saw for cutting, a power drill for making holes, a screwdriver, a hammer, a level, a measuring tape, and a square for accurate angles.
Cutting and Joining:
Cutting: Ensure accurate measurements before cutting. Utilise clamps to hold wood steady while cutting.
Joining: Use wood glue along with screws for strong joints. Dowel joints or biscuit joints are other sturdy options.
Safety Precautions:
Always work in a well-ventilated and well-lit area. Wear safety goggles, ear protection, and gloves to prevent injuries.
4. Interior Layout
Shelving:
Adjustable shelving: Provides flexibility to accommodate items of different heights.
Fixed shelving: Utilise in corners or for shelves holding heavy items.
Hanging Space:
Ensure the hanging rod is installed at a height that allows your longest garments to hang freely without touching the floor.
Consider adding a lower rod for shorter items like shirts and trousers.
Drawers:
Utilise drawer dividers or small boxes to organise smaller items like accessories, belts, or shoes.
5. Finishing Touches
Painting or Staining:
Sand the wood surface smooth before applying paint or stain. Apply a primer before painting, and consider a pre-stain conditioner before staining.
Apply multiple thin coats, allowing adequate drying time between coats, and lightly sand between coats for a smooth finish.
Installing Hardware:
Ensure handles, knobs, and other hardware are installed straight and securely. Use a template for accurate placement.
Consider soft-close hardware for drawers as well, to prevent slamming and ensure a smooth operation.
Decor:
Consider lining drawers with decorative paper or fabric, adding interior lighting, or installing hooks inside doors for added functionality and a personalised touch.
Building a corner wardrobe from scratch is a rewarding project that offers a bespoke storage solution. With patience, a bit of creativity, and a weekend or two, you'll create a piece that not only maximises your space but also adds a personal touch to your bedroom.