- Home/
- Home Accessories/
- Wall Décor/
- Wall Art/
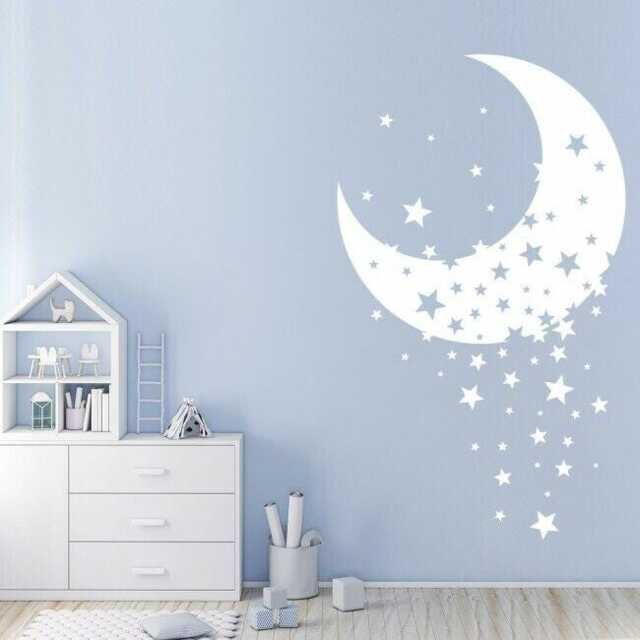
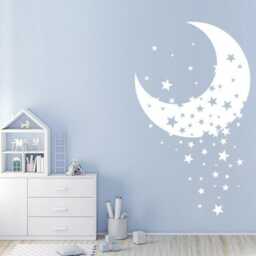
- Twinkle Star & Moon Nursery Baby Bedroom Childrens Kids Crescent Moons Wall Art Vinyl Decal Sticker Playgroup V822

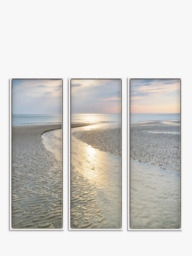
Similar products


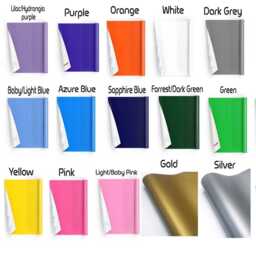
colours | Light Blue |
|---|
Latest delivery information available on the retailer website here.
Latest home furnishing ideas & advice

Most Popular Types of Garden Furniture in the UK
Choosing the right garden furniture can completely transform outdoor living spaces. From compact bistro sets and practical garden benches to spacious garden sofa sets and stylish gazebos, UK homeowners now have more choice than ever before. Different furniture styles suit different layouts, lifestyles, and budgets, making it important to compare options carefully. By exploring products across multiple retailers such as DFS, John Lewis, Habitat, and Barker and Stonehouse, shoppers can find garden furniture that balances comfort, practicality, and style for their outdoor space.
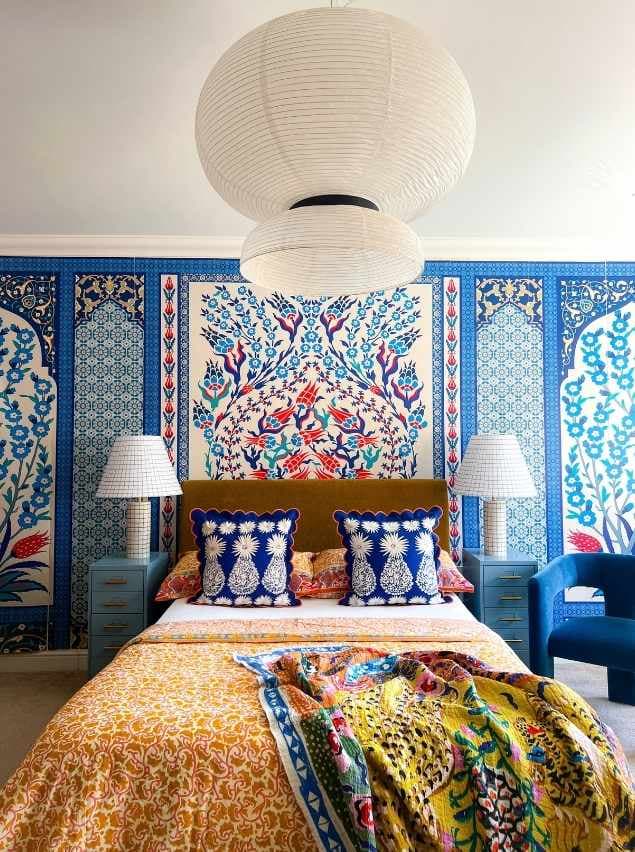
Expressive & Soulful: Inside Ammarah Hasham’s Collected Home
uFurnish.com Founder Deirdre Mc Gettrick sat down with Ammarah Hasham – 2025 uFurnish.com Home Awards Winner to talk all things interiors inspiration and advice for those on their own interiors journey.
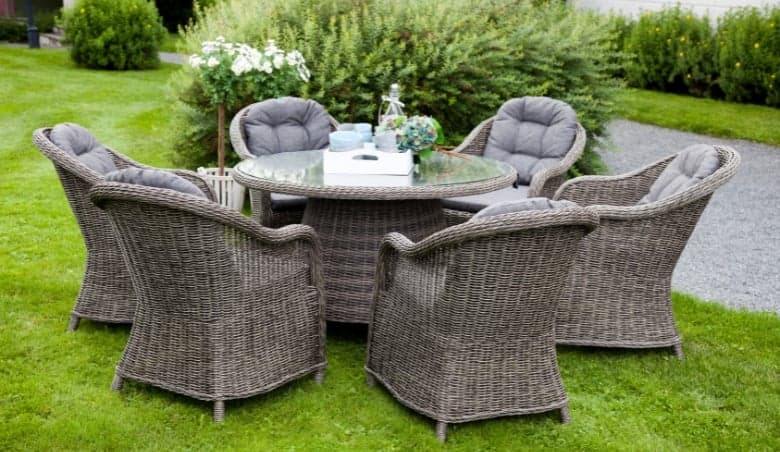
10 Best Outdoor Dining Table and Chair Sets
Discover the best outdoor dining table and chair sets for every garden size and style. From compact bistro sets for smaller patios to spacious dining sets perfect for entertaining, this guide highlights some of the top options available from leading UK retailers. Whether you’re hosting summer barbecues or enjoying relaxed outdoor meals with family, find inspiration and practical ideas to create the perfect outdoor dining space.
New to uFurnish.com?
Did you know uFurnish.com looks inside 100+ retailers for you?
See our retailer partners...


Stay in the know with uFurnish.com
Ideas and advice straight to your inbox