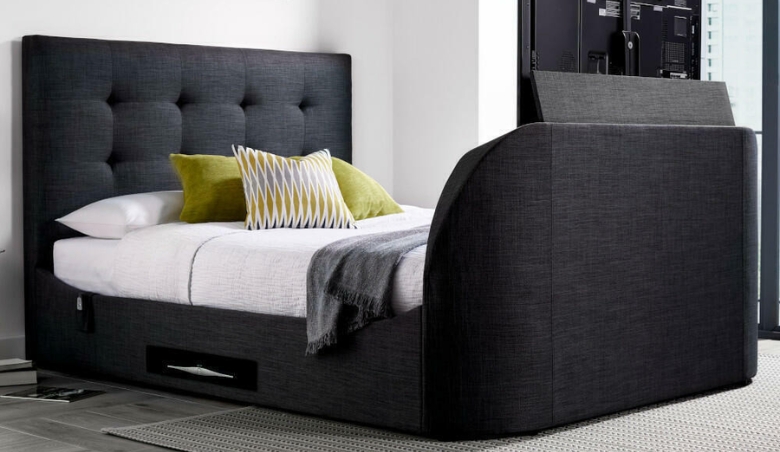
Installing a TV bed might seem like a complex task, but with the right approach and a bit of patience, it can be a manageable and rewarding DIY project. TV beds are a fantastic blend of comfort and convenience, allowing you to enjoy your favourite shows and movies right from the comfort of your bed. While the installation process might vary slightly depending on the specific model and brand of TV bed you have, there are general steps you can follow to ensure a successful setup.
Gather Your Tools and Read the Instructions
Before you start, make sure you have all the necessary tools and components. Most TV beds come with detailed instructions that outline the installation process step by step. It's essential to read through these instructions thoroughly before you begin. This will give you a clear idea of what to expect and help you avoid any potential pitfalls along the way.
Prep the Bed Frame
Start by preparing the bed frame itself. Lay out all the components and ensure that everything is accounted for. Follow the instructions carefully to assemble the bed frame, making sure that all the parts are securely attached. Pay close attention to the alignment of the various pieces to ensure that the frame is sturdy and stable.
Mounting the TV Bracket
The TV bracket is a crucial component of a TV bed, as it securely holds your television in place. Follow the manufacturer's instructions to attach the TV bracket to the designated area on the bed frame. Make sure the bracket is level and securely fastened. This step often involves using the provided screws and hardware to ensure a safe and secure attachment.
TV Installation
Once the TV bracket is securely in place, it's time to mount the television itself. Follow the TV manufacturer's guidelines for installation, paying special attention to the weight and size specifications. Enlist the help of a friend or family member to assist you in lifting and mounting the TV onto the bracket. Carefully align the TV with the bracket and ensure that it is securely attached.
Cable Management
No one wants a clutter of cables ruining the sleek aesthetic of their TV bed setup. Take the time to properly route and manage the cables. This not only keeps things looking tidy but also prevents any accidental damage to the cables. Many TV beds come with built-in cable management solutions, so be sure to take advantage of these features.
Testing and Adjustments
With the TV securely mounted and the cables neatly arranged, it's time to test the functionality of the TV bed. Test the lifting and lowering mechanism to ensure that it operates smoothly and without any issues. Adjust the tension settings if needed to achieve the perfect balance between TV visibility and bed functionality.
Final Checks and Safety
Before you consider the installation complete, perform a thorough check of the entire setup. Make sure all screws are tightened, all parts are securely attached, and there are no loose components. Safety is paramount, so ensure that everything is stable and well-secured.
While installing a TV bed can be a satisfying DIY project, it's important to know your limits. If you're uncomfortable with any part of the installation or if you encounter challenges that you're not sure how to address, don't hesitate to seek professional assistance. A professional can ensure that the installation is done correctly and safely.

