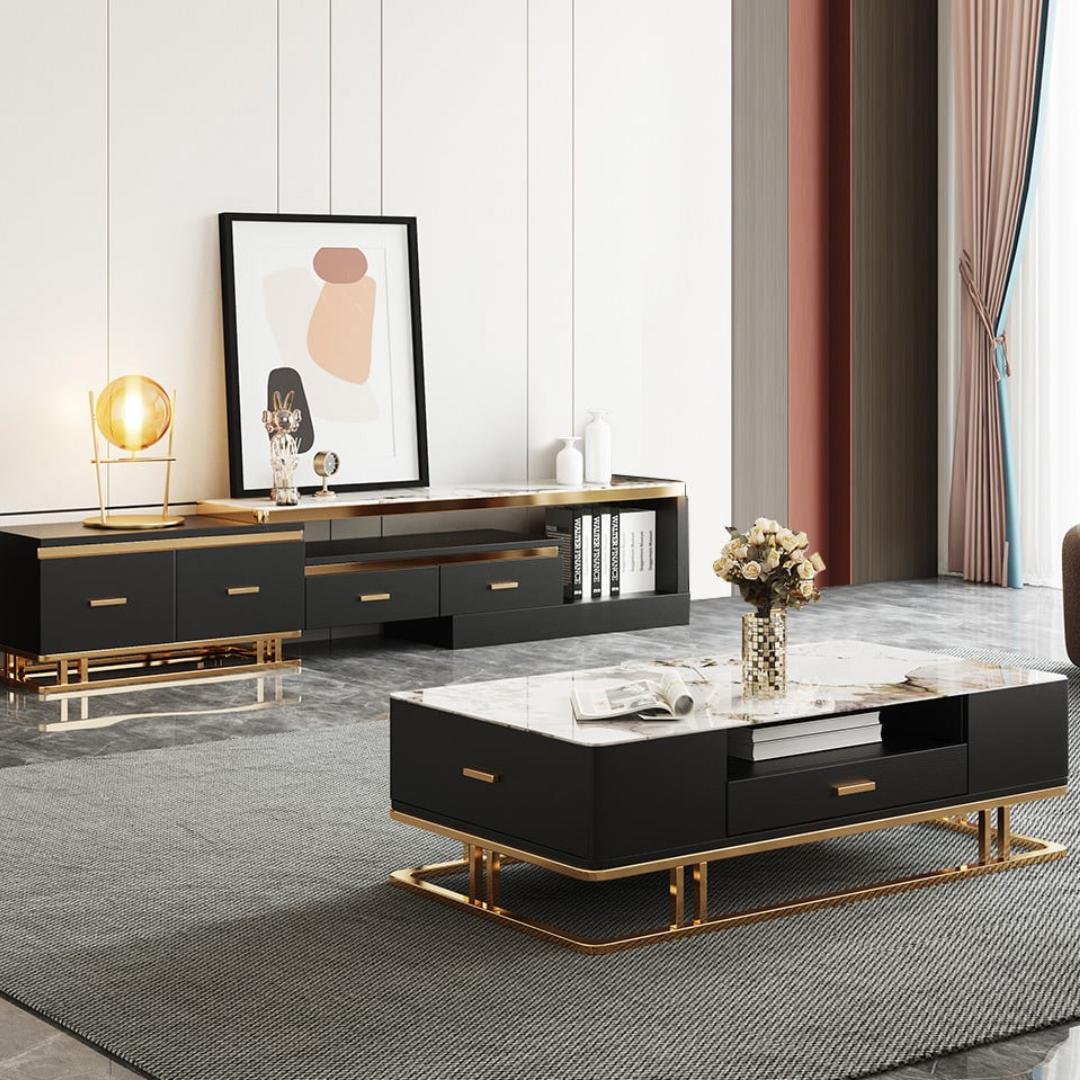
Creating a bespoke entertainment unit is about curating a central hub for leisure in your home. It's where aesthetics meet function, crafting a space that not only houses your multimedia gadgets but also resonates with your personal style. A well-designed entertainment unit can tie the room together, providing a cohesive look that complements your home decor.
Planning Your Entertainment Unit
Measuring Your Space:
Width, Depth, and Height: Detailed measurements ensure that your unit fits perfectly without obstructing pathways or outlets. Use a tape measure for accuracy and note down the dimensions.
Design Aesthetics and Functional Needs:
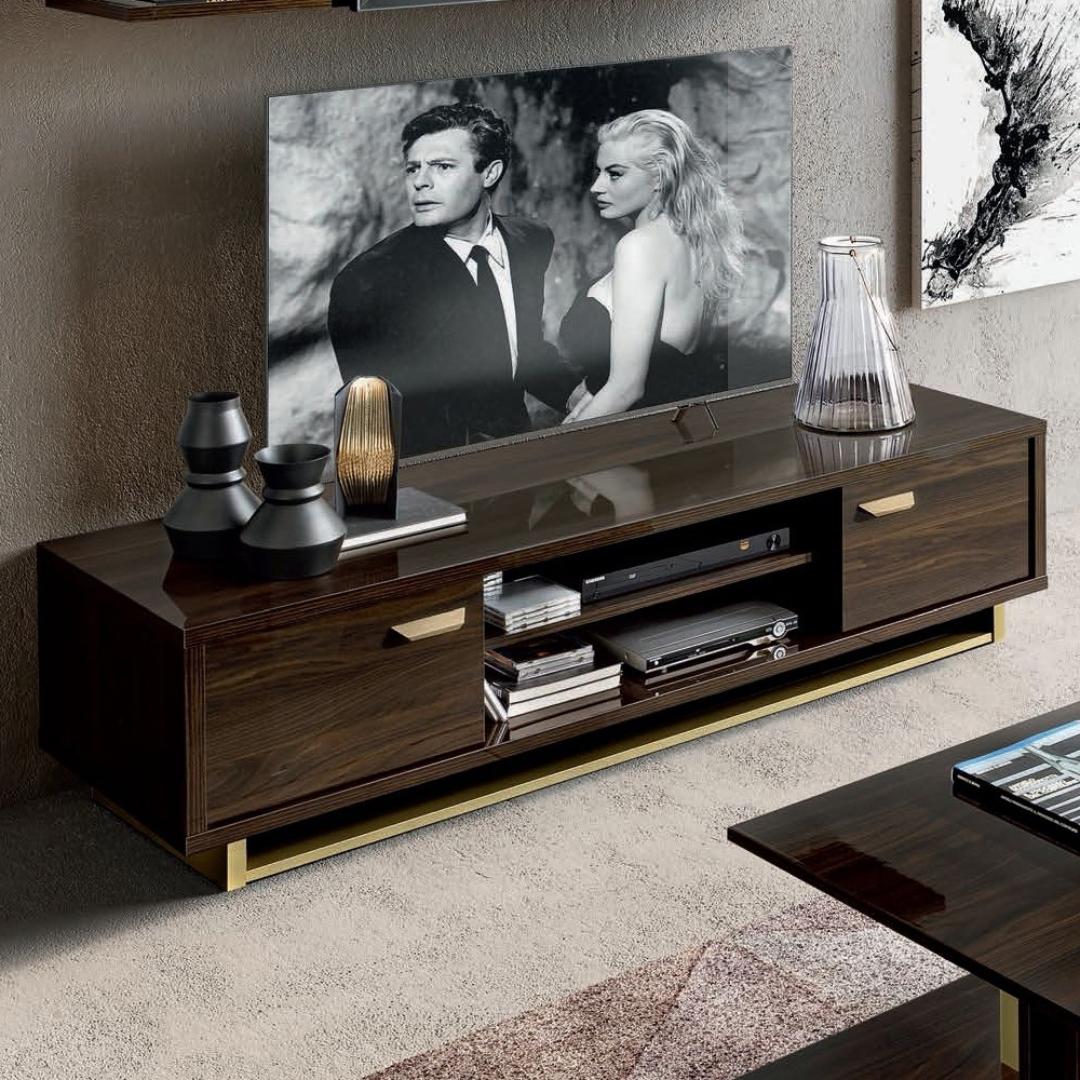
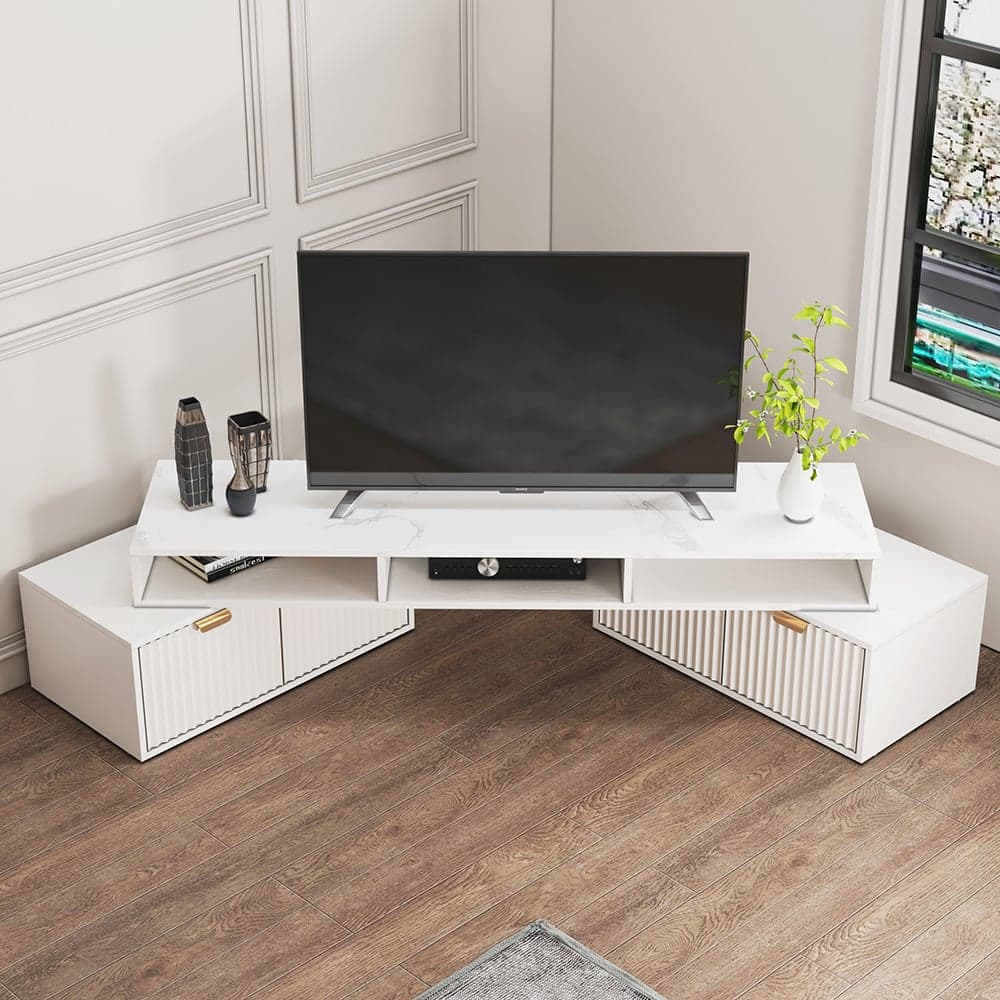
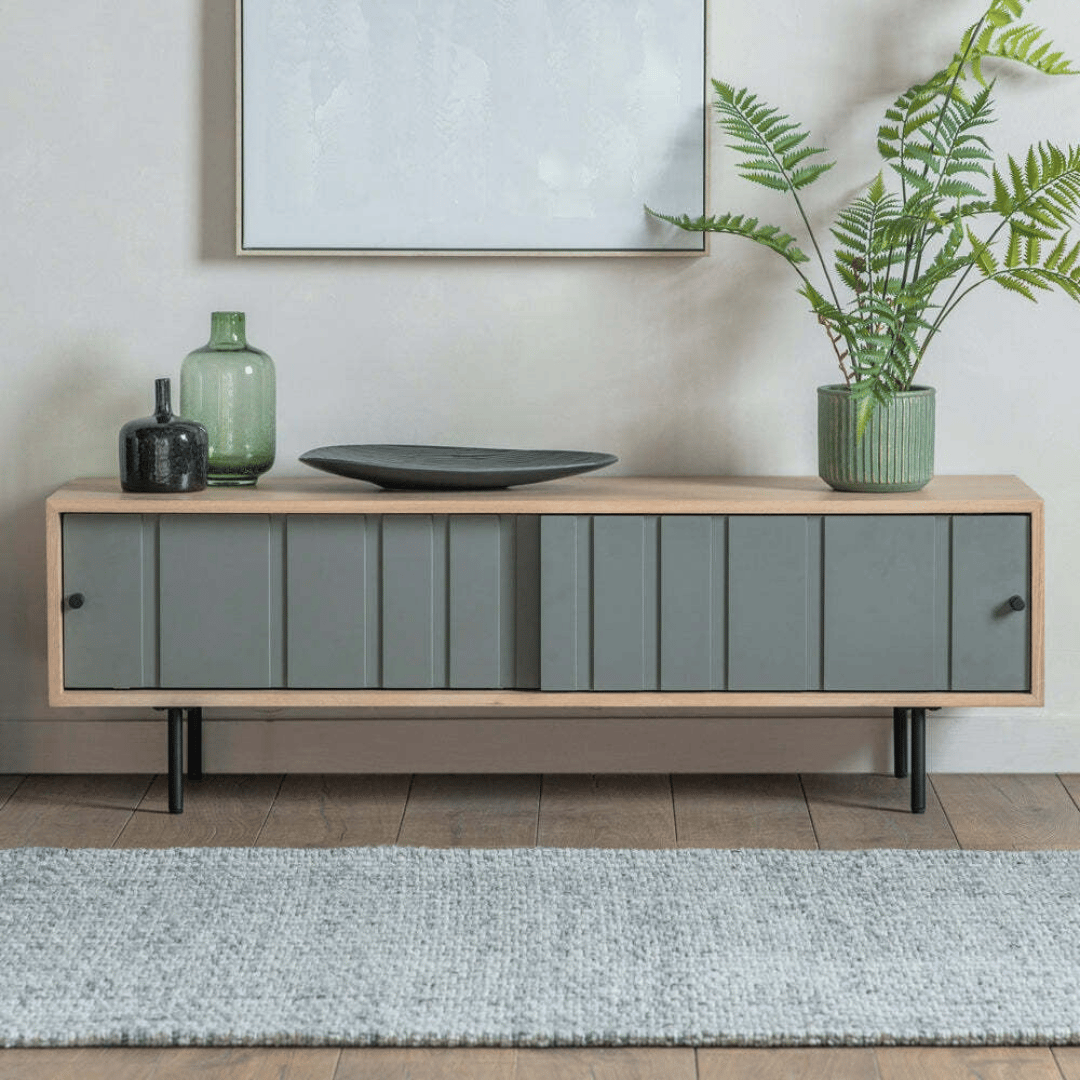
Style: The style of your unit should blend with your room's decor. Whether you fancy a modern, minimalist, rustic, or industrial look, the design possibilities are endless.
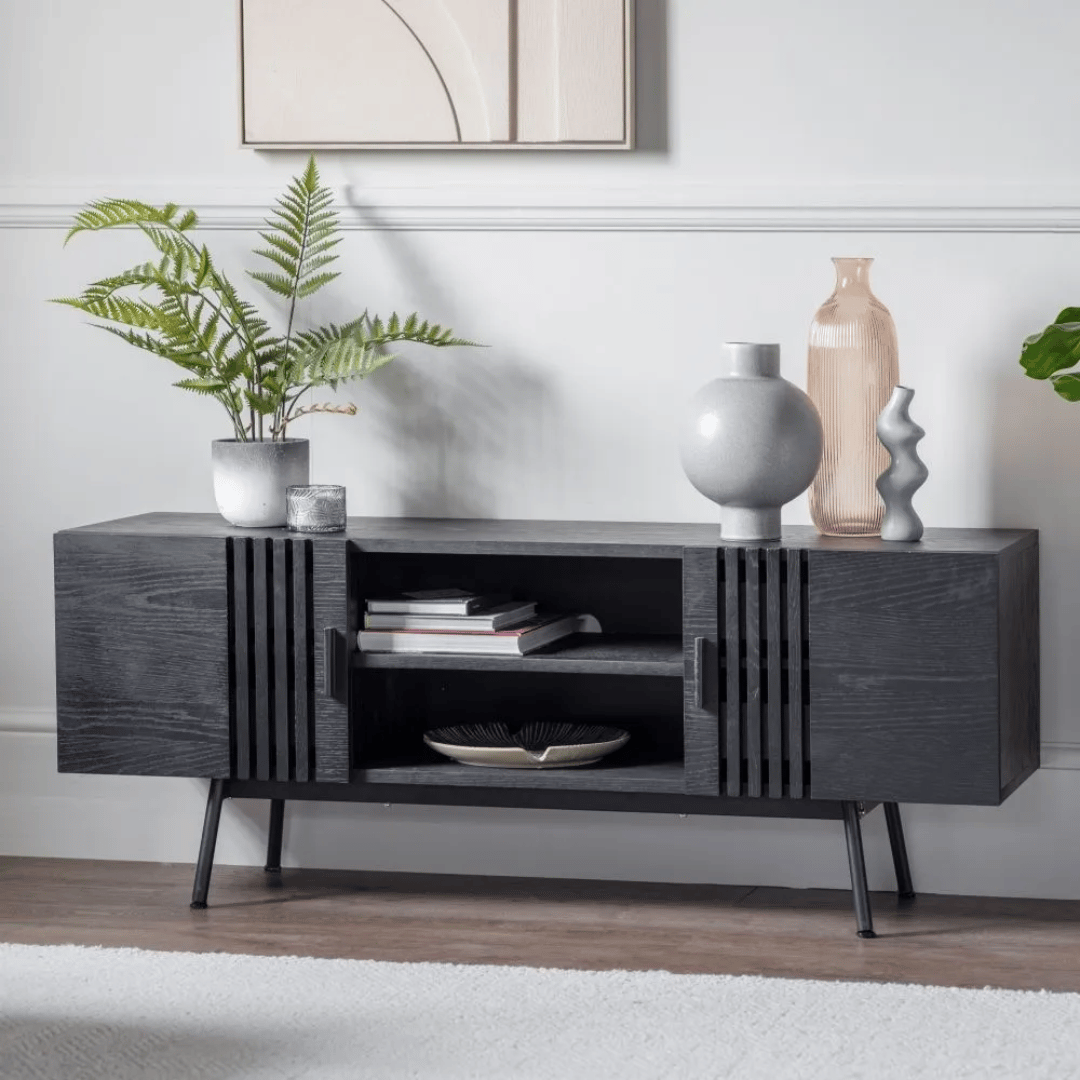
Functionality: It should cater to your storage needs, offering ample space for your electronics, books, and decorative items.
Budget Considerations:
Material Costs: Different materials come with varying costs. Hardwoods are durable but can be pricey, while materials like MDF or plywood are budget-friendly.
Choosing Materials
Different materials lend a distinct feel and durability to your entertainment unit:
Wood Types: Hardwoods like oak or maple are durable but more expensive, while softwoods like pine are more affordable.
Metal Types: Aluminium or steel can provide a modern industrial look.
Glass: Tempered glass is safer and stronger for use in furniture.
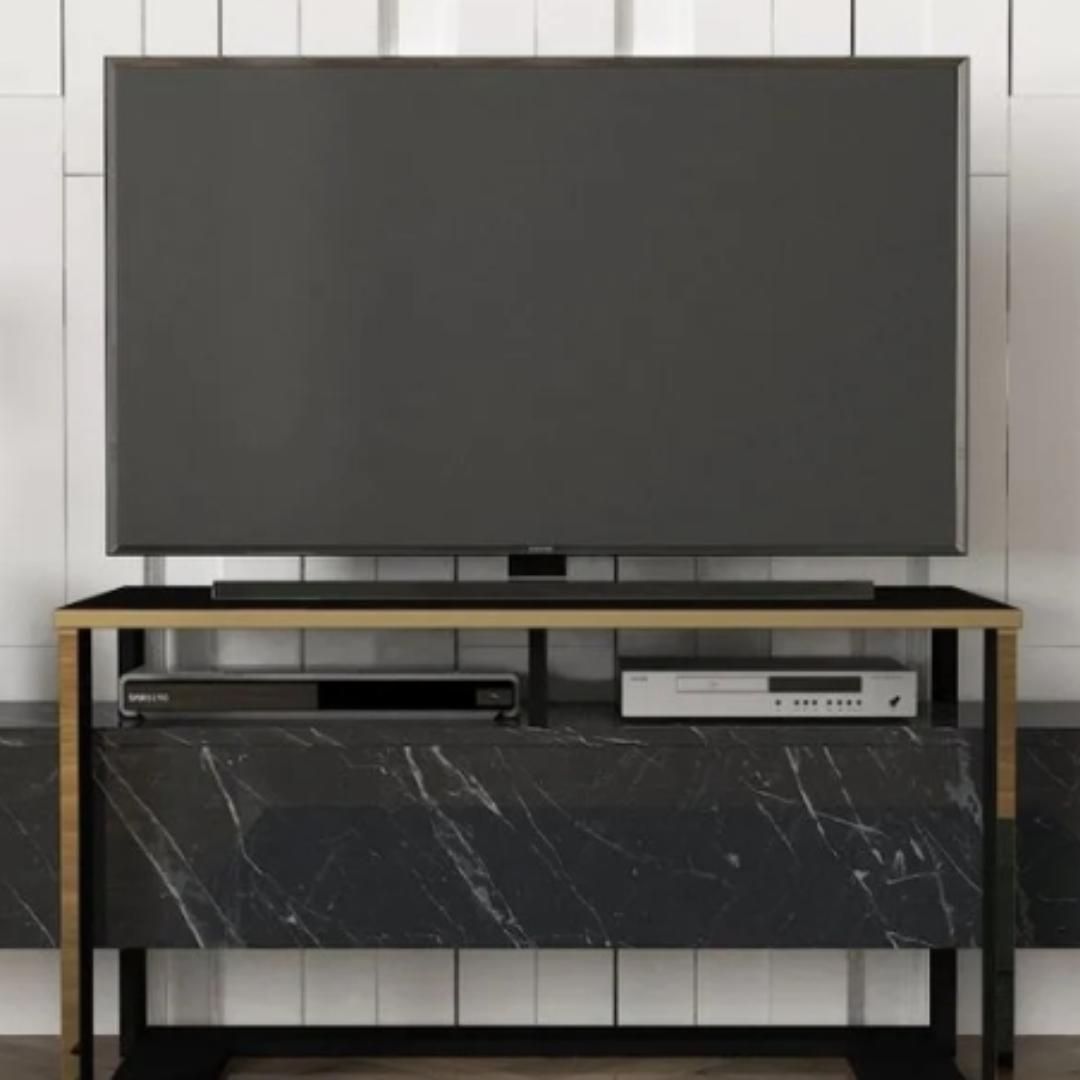
Designing for Electronics
Ventilation Considerations:
Ventilation Holes: Ensure the design includes ventilation holes to allow heat to escape.
Open Shelving: Consider open shelving for better airflow around your electronics.
Cable Management:
Built-in Cable Holes: Design with built-in cable holes to keep cables organised.
Cable Channels: Consider adding cable channels at the back of the unit for a neat appearance.
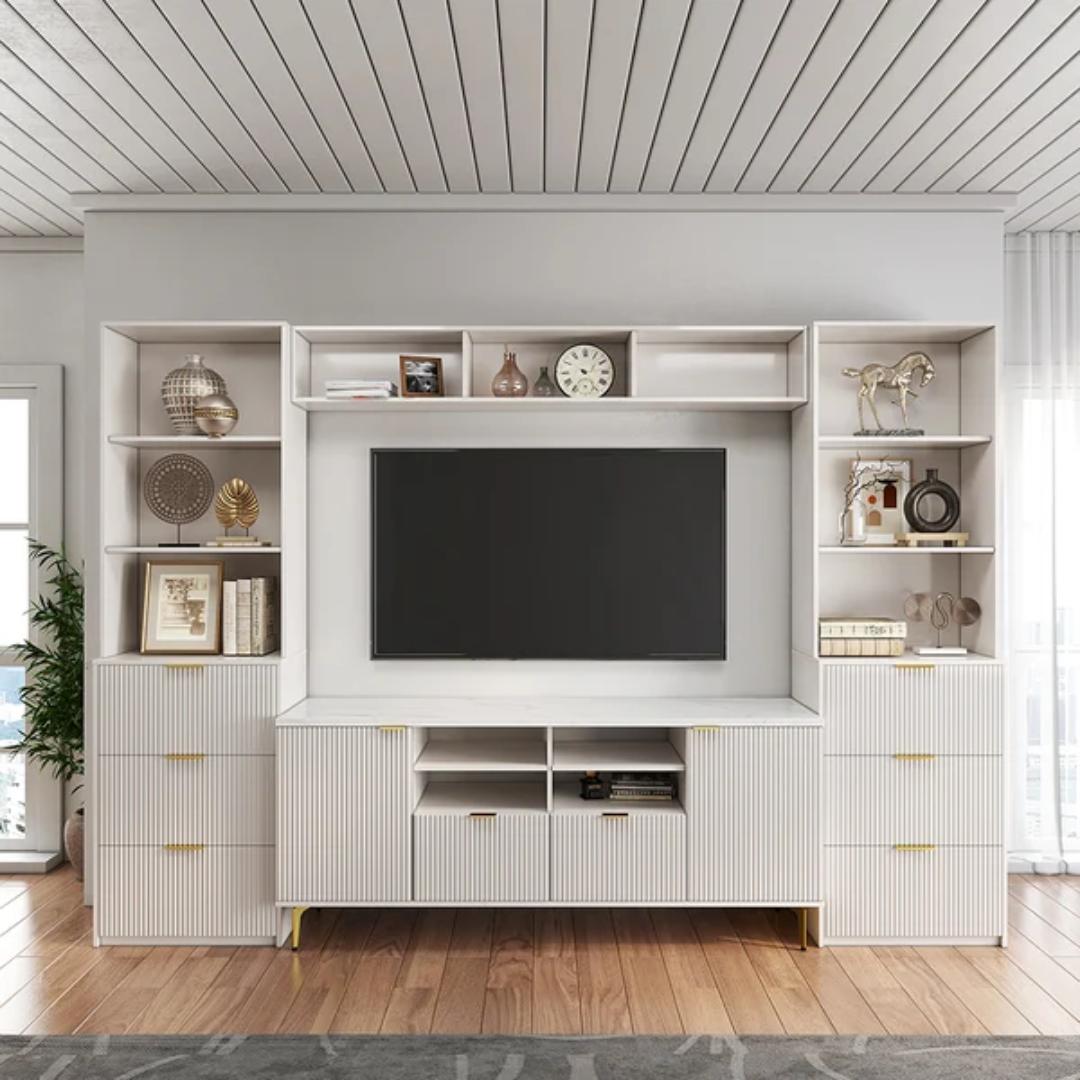
Storage Solutions
Shelves, Drawers, and Cabinets:
Adjustable Shelves: Design with adjustable shelves to accommodate items of varying heights.
Drawer Dividers: Include drawer dividers to keep smaller items organised.
Displaying Personal Items:
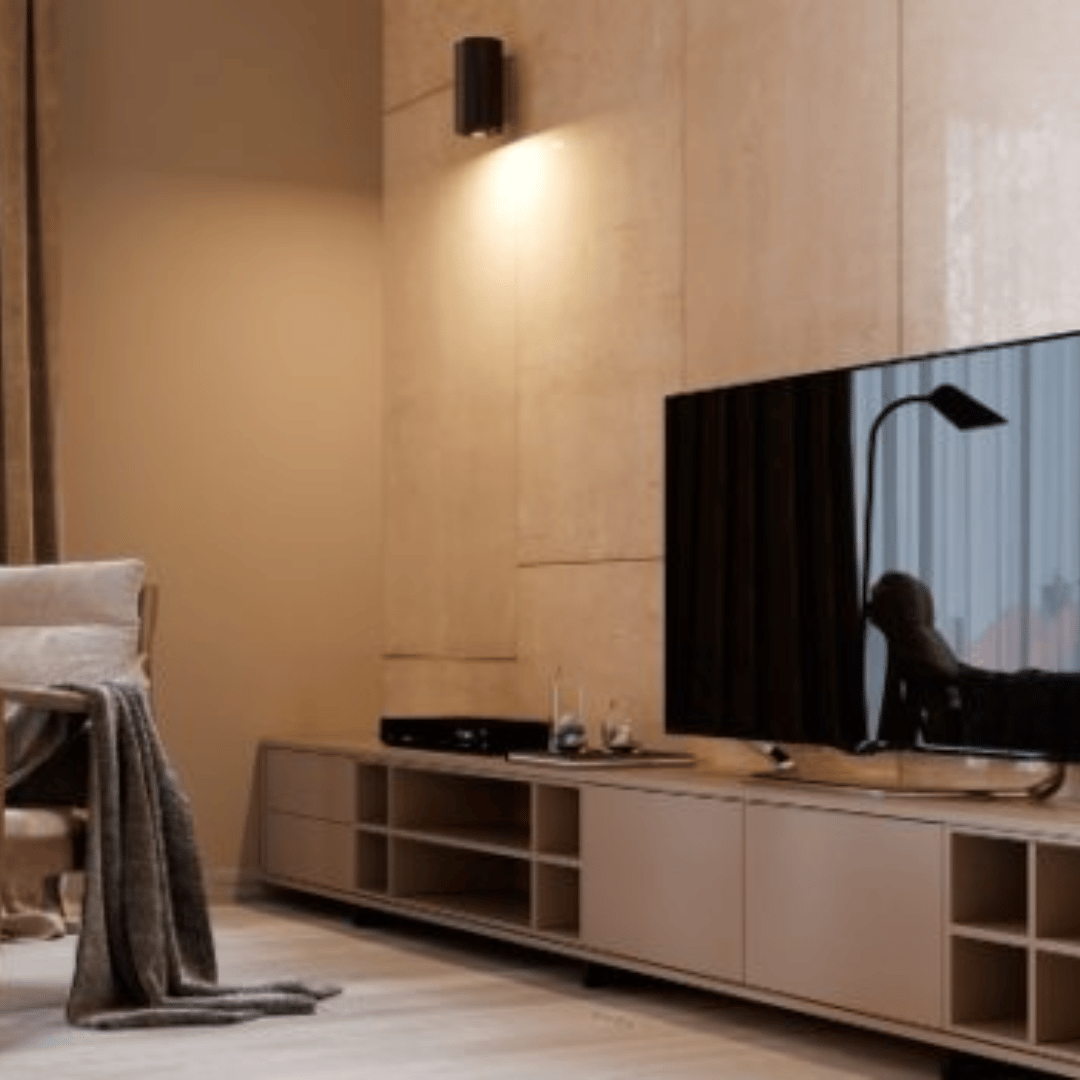
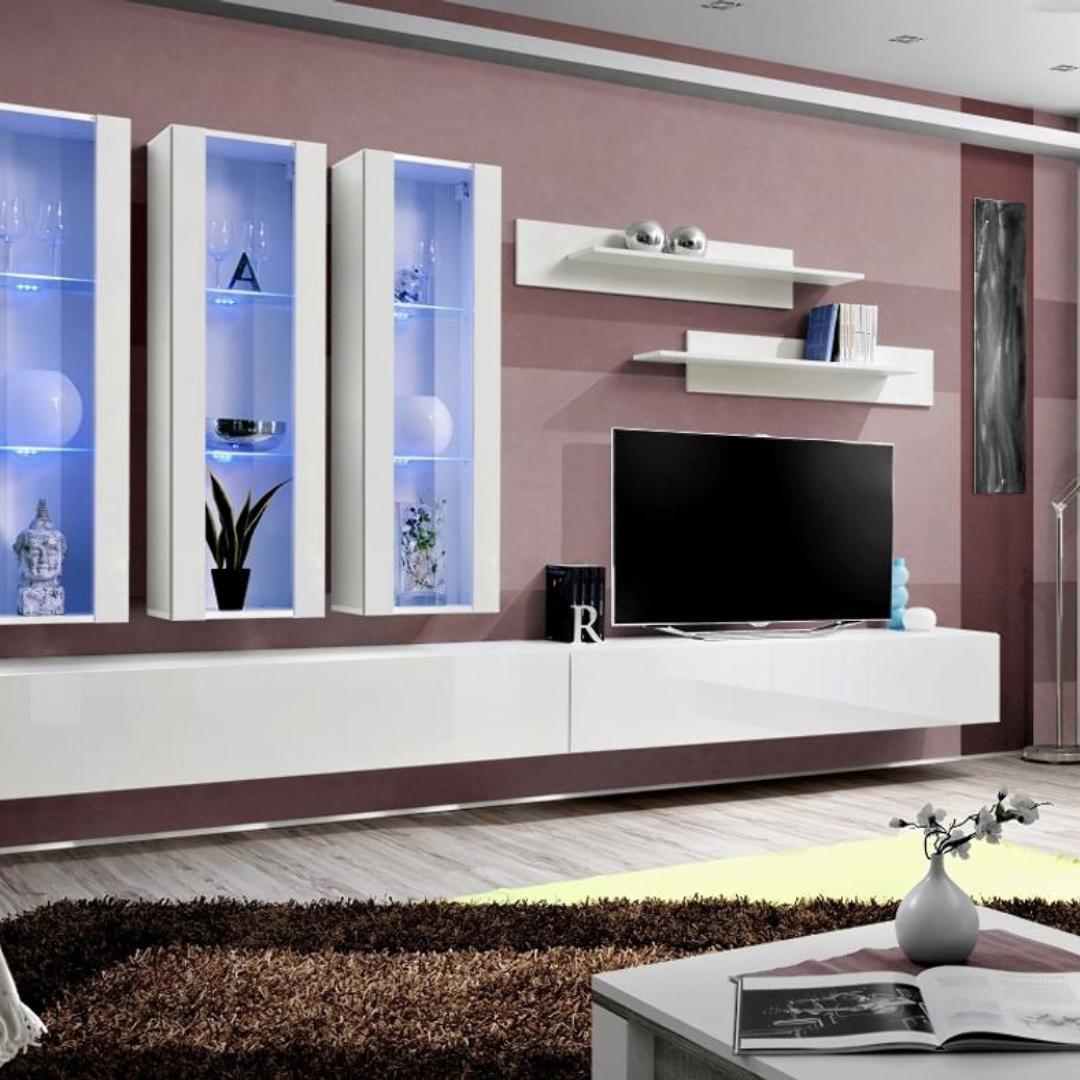
Lighting: Consider adding lighting to highlight displayed items.
Themes: Consider having a theme for your display items to create a visually pleasing arrangement.
DIY vs. Professional Help
DIY:
Skill Level: Assess your skill level and ensure you have the necessary tools.
Time: Ensure you have sufficient time to complete the project.
Hiring a Professional:
Quotes: Get multiple quotes to find a professional within your budget.
Quality Assurance: Professionals come with experience and expertise ensuring a well-built, durable entertainment unit.
Building Process
1. Drafting a Plan: Sketch a detailed plan or use design software to visualise your entertainment unit. This plan should include dimensions, the placement of shelves and cabinets, and space for electronics.
2. Acquiring Materials: Purchase all necessary materials based on your design. Also, ensure you have all the necessary tools like saws, drills, screws, and other hardware.
3. Cutting and Preparing Materials: Cut all pieces according to your measurements. Sand the wood to smooth out any rough edges and prepare it for assembly.
4. Assembly: Begin with the frame, ensuring it’s level and sturdy. Follow with the shelves, cabinets, and any other components, securing them with appropriate hardware.
5. Finishing Touches: Apply paint, stain, or a finish to protect the wood and enhance its appearance. Install any additional elements like doors, knobs, or handles.
6. Installation: If your unit is large or built-in, the installation process is crucial. Ensure it fits the allocated space perfectly and secure it properly to avoid any movement.
7. Cable Management and Electronics Installation: Once the physical construction is complete, install your electronics and manage the cables neatly.
8. Final Inspection: Inspect your unit for any sharp edges, loose screws, or any other potential issues and rectify them.
9. Personalisation: Now that your entertainment unit is built, you can add personal touches. Consider adding decor items or LED lights to enhance its look.
Personalising Your Entertainment Unit
- Hardware: Choose hardware like knobs or handles that complement your style.
- Colour Scheme: Paint or stain your unit to match your room’s colour scheme.
- Accessories: Adding accessories like LED lights or glass doors can elevate the look of your unit.
Maintenance Tips
- Cleaning: Regular dusting and cleaning with a damp cloth can keep your unit looking new.
- Touch-ups: Touch up any scratches or dings to keep your unit looking fresh.
- Protective Coatings: Apply protective coatings to safeguard against scratches and stains, ensuring your unit remains in pristine condition over time.
Common Mistakes to Avoid
- Ignoring Ventilation: Neglecting proper ventilation can lead to overheating of electronics.
- Poor Cable Management: Overlooking cable management can result in a messy and potentially hazardous setup.
- Incorrect Measurements: Incorrect measurements can result in a unit that doesn't fit your space or accommodate your electronics.
- Skimping on Materials: Opting for cheap materials can compromise the durability and overall look of your entertainment unit.
Building an entertainment unit is a project that marries creativity with practicality. With thorough planning, the right materials, and a touch of personal style, constructing an entertainment unit can be a rewarding project that enhances your living space.